HOW TO: Label a self made pattern

I.E:

  • Ruffle Skirt
  • Front Piece
  • Cut 2x &2x Interfacing
  • S.A 5/8ths
  • Bring attention with a highlighter to any darts, notches or clips

Let’s say you made a pattern for pants or a skirt(etc.) It looks awesome but so bare! Wait what side is the front? Wait why does my skirt look like a bag? YOU DIDN’T LABEL!

Lets learn what you have to put on every pattern:

  1. GRAIN

The grain is one of the most important things to have labeled on a pattern. Depending on how you cut it your piece can turn out not how you envisioned it. This is why grain is important. The lengthwise and cross wise grain of fabric refers to the directions parallel to the warp and weft . The grain is how the threads were made into fabric. You would want to cut on the grain because everything will fall into place. Whereas …

2. BIAS

The bias cut is a cut made at a 45 degree angle. If you want a dress that flows you want to cut on the bias. Cutting on the bias will make your piece have a draping effect.

3. CF-CB

Center Front & Center Back are two things that NEED to be labeled. The center front is where you have zippers(front-pants) and it is where you match the front of your item with a collar or a waist band. The center back is the same thing. There are usually four notches on your pattern CF-CB and your sides. You use these markings to help you figure out where things are supposed to go

4. NAMING

It is always smart to label that pattern piece. You have several patterns laying across your table and you are trying to find the bodice. You waste five min, trying to figure out which paper piece is the piece you want. Labeling BODICE FRONT on the piece will make your time flow much more smoothly.

5. CUTS

Remember to always label how many pieces you need to cut for each piece. (Remember to label how much interfacing you need to cut as well.)

DIY Patio Decor!

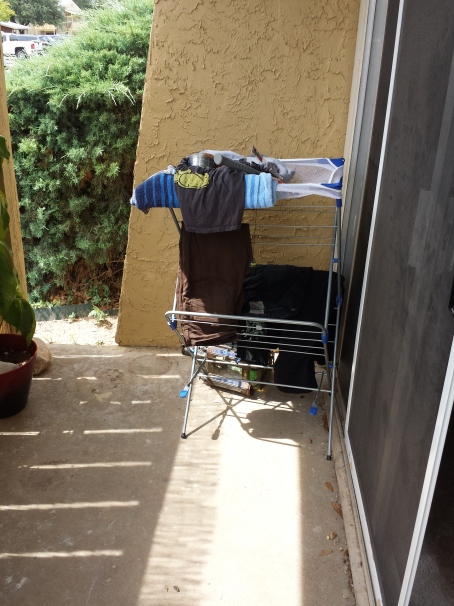
Image Here is our ugly Patio…

Image 


Hideous Air Conditioner…. Can see into the neighbors balcony, and the shrubs are way too overgrown.

Image


I used these Items to attach the Bamboo fencing.

Hammer,

24 guage galvanized wire,

1″ nails

Pliers with a wire cutter

Image


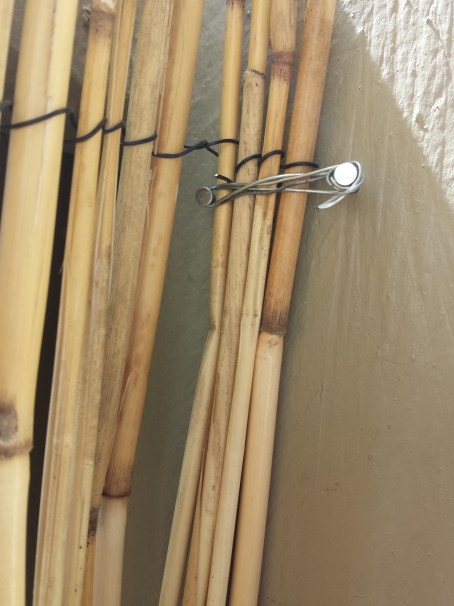
The fencing is pretty weak, and our winds are VERY strong. So I devised a great way to keep the fence upright. I take two nails, nail them about a inch to half-inch away from each other. I take the wire about 5 inches of it, and i do a twisty 8 around both of the nails. and then I individually wrap them around their own nail to keep them more sturdy.

Image


I found this awesome piece of burlap and I thought it would be awesome to paint it and put it up in my patio.

I put the burlap on a nice area with two poster boards underneath. The paint goes directly to the paper underneath.

Image

And here is the finished piece! I am not done with the whole patio, but I covered up the ugly part and the fence 🙂 more to come. stay updated!

D.I.Y Cute Face Mask

So yesterday I realized how much dust there was on my overhead fan. Gross! Literally the was so much dust on my fan I thought if I turned it on I would of definitely gotten some in my lungs. I think to my self, “This HAS to get done, how do I go about cleaning this with out dying. So I decided to make a face mask. In Japan, wearing a face mask is a very popular thing. The people of Japan wear face masks to: make sure they don’t spread their sickness to others and to not GET sick from other people. I am not sick but I thought this would be a great way to NOT get sick from the dust.

Here is what you need to make this fun face mask:

  • (2)5.5×4.5 inches rectangles
  • (2)rectangles x+2=width (I will further explain)*
  • (2) 5×2 inches *
  • Fun decor, lace, ruffles, beads, etc

* For these two you can actually use binding tape (I decided to use the same fabric from the mouth piece)

ImageI started out by cutting out my  pieces. Six in total

Image

I then took the mouth pieces and added slight curves to each corner (I used my handy dandy wax chalk)

Image

TIP: Grab your two longest pieces and lets talk about the * from the intro. In order to find what the length is of the top and bottom binding, you have to measure from ear-ear or tragus to tragus. My number was 11 inches and I add 2 inches. So 13 inches by 2 inches

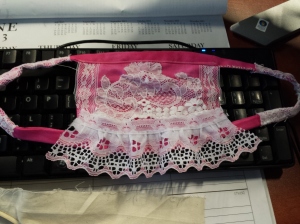
I then added my home made binding to the sides first. Top Stitch towards the open side. If you need help with binding I will be more than happy to make a quick tut. After that is sewn into place, I added the top and  bottom binding  and pinned that into place. This is where you add your fun, pretty, additions. I decided to add some lace to sides and the a layer of them in the middle.

Image

I cut and trimmed some lace and I did a blind hem stitch. I did this because it is a strong stitch and it is a less noticeable one. Remember to always pin. Pinning is your best friend when sewing.

Next connect the bottom and top bindings together to fully construct the ear pieces. I added some lace to my sides to make them look prettier. Connect and WaLa!

20130618_104902

What I have Been Working on!

The past few days have been very lazy. I have been cleaning the house to prepare for my boyfriends mother to come into town. I did have a haul at Hobby Lobby. Oh god, Hobby Lobby will bring the death to me and my wallet. I got a lot of fun stuff:ImageImage

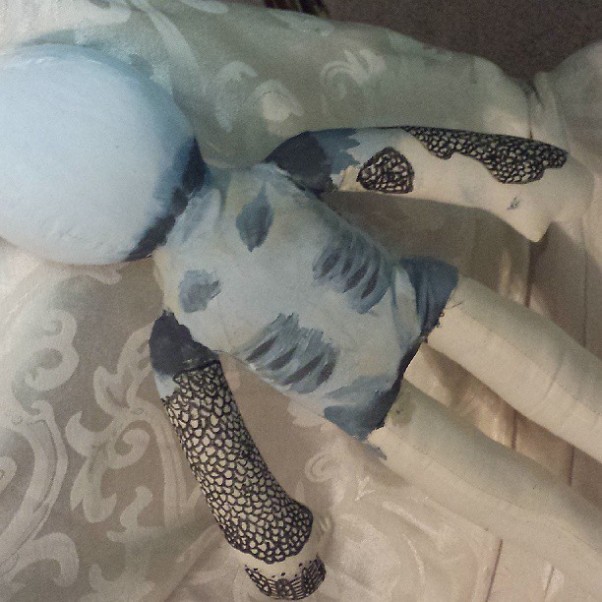
ImageAnd I am currently working on the doll and another dress for Piper. I did not use a pattern, but I used a 4t shirt from the store, cut it and added the skirt area. Of course, I highly suggest that you use patterns. If you follow a pattern properly you CANT mess up. If you are doing like me, you might mess up. It is almost inevitable. So here is the dress and doll that I am working on:

ImageImageI would love to hear some feedback on this dress. I made little jelly fish tentacles so when she spins around it gives more body. I have not finished the hem yet and I may consider making it a bubble skirt


8 Bag Patterns!


8 Awesome Bag Patterns!

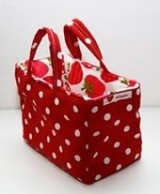
1. Urban Jungle Bag     http://www.sewsweetness.com/2012/01/tutorial-urban-jungle-bag.html Image

2. A bunch of cute bag patterns:  http://www.sewsweetness.com/2012/01/tutorial-urban-jungle-bag.htmlImage

3. Diaper Bag http://jessicakenenske.blogspot.com/2011/12/diaper-bag.html

Image

4.Messenger Bag (Halfway down the page) http://wkdesigner.wordpress.com/tag/sewing/

Image

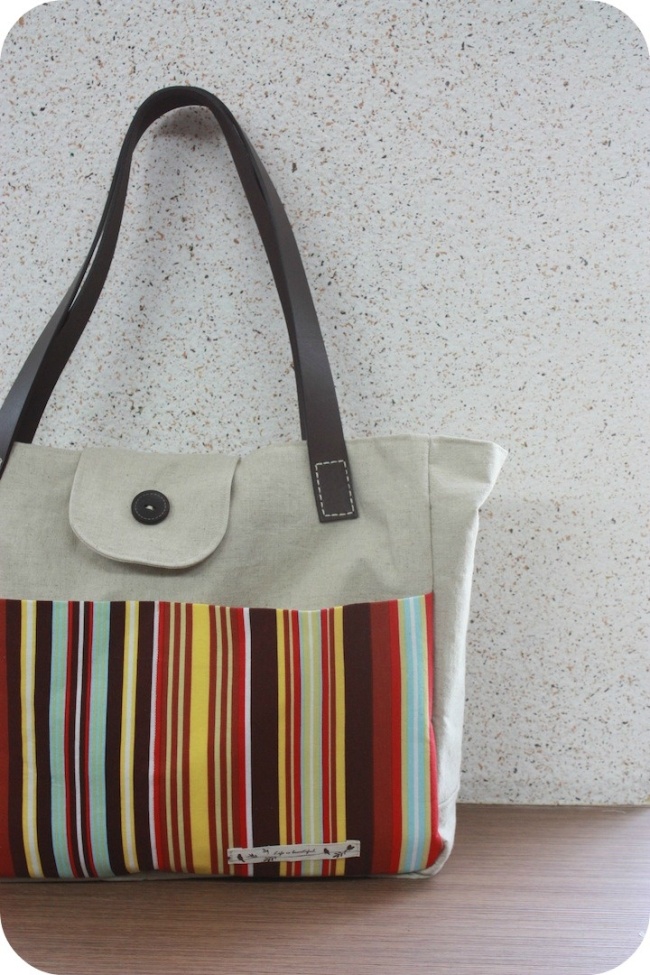
5.Tote Bag (Pattern that I used) http://www.sewsweetness.com/2012/02/reader-tutorial-diy-tote-with-leather.html

Image

6. Cute Lunch tote (it’s in German so you will have to translate it) http://geliebteszuhause.blogspot.com/2011/06/anleitung-genahte-einkaufstasche.html

Image

7.Bias Bound Book Tote http://www.marthastewart.com/265329/bias-toward-the-pretty?lnc=bf89cf380e1dd010VgnVCM1000005b09a00aRCRD&page=2&rsc=articlecontent_crafts

88db73214c5c26272b10ff0f89739272

8. Tohoku Bag  http://www.sewdelicious.com.au/2011/09/my-tohoku-tote-bag.html

bdbcd93affda24a189036d41309f16b7

diy: cross stitch canvas wall art

This will be my next project but with a different design. Wait for updates!

staying awake

20130608-130709.jpgthis past weekend we celebrated our sweet daughter’s third birthday. ever since we found out that max was going to be a boy (and would therefore be sharing a room with sam) i started planning and designing rae’s big girl room and felt that her birthday would be a perfect time to bring it all together. it meant i had a good few months during pregnancy to plan and create mood boards, a few months after pregnancy to just get used to our new crazy life, whilst also meaning i could enlist the present buying of the grandparents to help fund some of it. it was the first time i have ever redesigned a room all in one go and i loved the process. i usually like to live in a space and design as i go, making the whole process quite drawn out, but very organic. and yet…

View original post 623 more words

Three Dresses for Piper

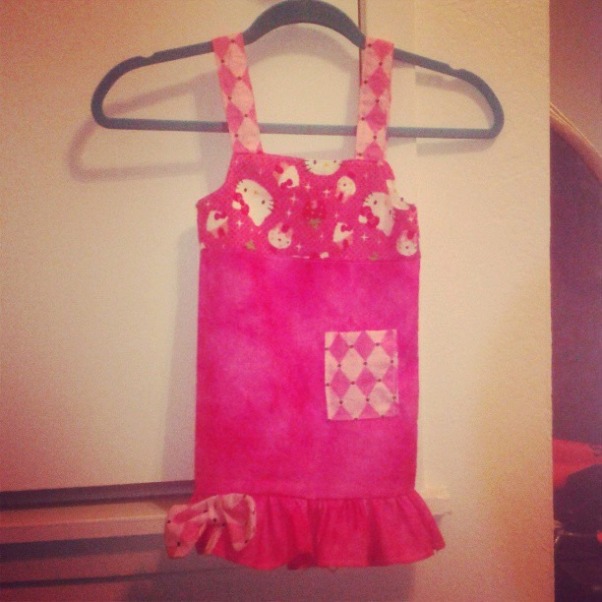
ImageThis dress above I made with out a pattern-you can see how a pattern is needed. It was me based style for a two year old. I will be remaking this one to perfection.Image

I used a basic top pattern for the dress above. These dresses are for a 3 year old who loves pink and Hello Kitty. Since she is three she will have the need to run around, this dress simply does not allow any movement. (note to self: do not do a simple rectangular pattern for the bottom of the dresses-no movement)Image

And finally this one, one of my favorites. This dress is light and super girly. I found out that this dress is TOO light and we could see her undies through it. Once again, these were done within a few hours. Now that I know how each of those fabrics work, I will be making a more appropriate dress for little Piper